Starting your own cannabis grow at home is an exciting and rewarding journey. In Part 1 of this series, we talked about setting up your grow space and selecting the right seeds for your home grow.

Now, in Part 2, we’ll focus on one of the most important stages in your cannabis plant’s life: germination. Germination is the process of getting your seeds to sprout and grow into healthy seedlings, which is the foundation for a successful grow.
In this guide, we’ll break down everything you need to know about how to properly germinate your cannabis seeds, and how to transfer those delicate sprouts into their final pot for optimal growth. Whether you’re just starting out or looking to refine your germination techniques, this post will provide clear, step-by-step instructions to help you get the most from your cannabis plants.
What is Germination and Why is It Important?
Germination is the process by which a seed sprouts and begins to grow into a new plant. For cannabis growers, successful germination is the first critical step in the life cycle of your plants. During this process, the seed’s hard outer shell cracks open, and a small root (called the taproot) emerges. From here, the seedling begins to grow and establish its root system.
Without proper germination, you won’t be able to grow healthy plants. That’s why it’s essential to get this stage right.
The Best Methods for Germinating Cannabis Seeds
There are several methods you can use to germinate your cannabis seeds, each with its own pros and cons. The goal is to create a warm, moist environment for your seeds to sprout. Let’s go over the three most popular germination methods.
1. The Paper Towel Method
The paper towel method is one of the most common and effective ways to germinate cannabis seeds. It’s simple, inexpensive, and requires minimal equipment. Here’s how to do it:
What You’ll Need:
- Two clean plates
- A few sheets of paper towel
- Cannabis seeds
- Water (preferably distilled or purified)
Steps:
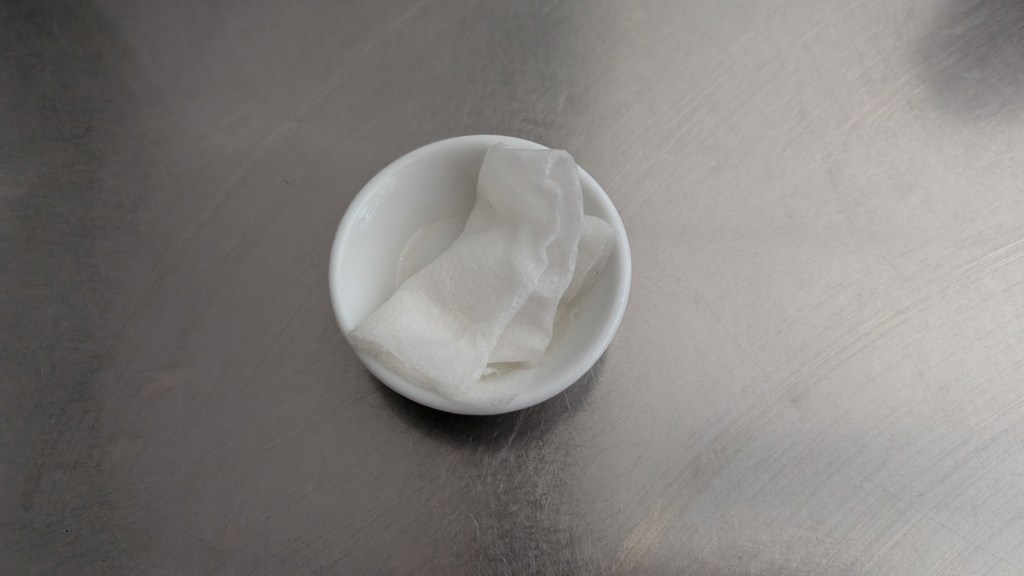
- Wet the Paper Towels: Dampen the paper towels with water, but make sure they aren’t soaking wet. You want them moist enough to create a humid environment for the seeds.
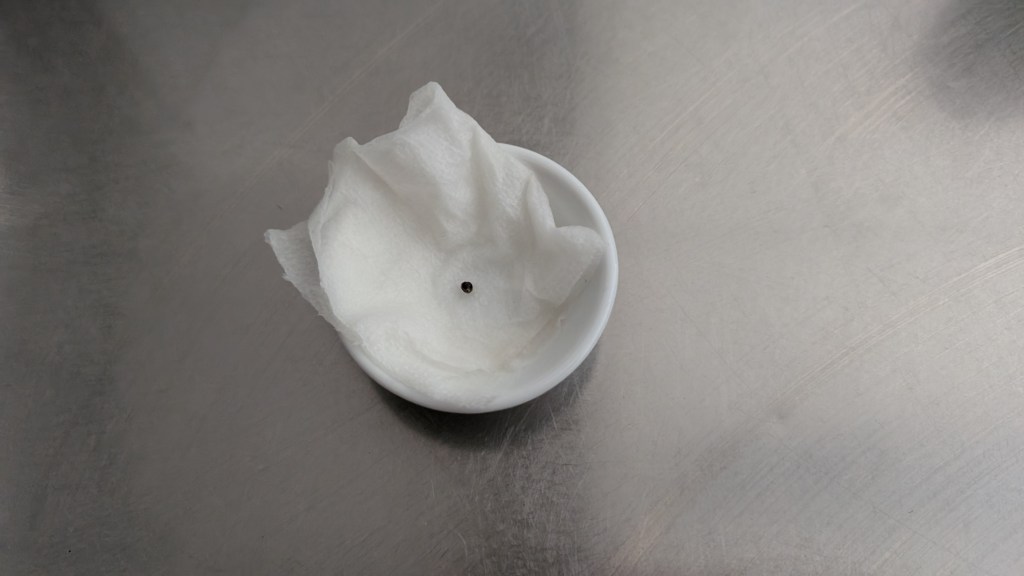
- Place the Seeds: Spread the cannabis seeds out evenly on one sheet of paper towel, leaving enough space between each seed. Cover them with another damp paper towel.
- Cover and Wait: Place the paper towels between two clean plates to keep the moisture in and block out light. Keep the plate in a warm, dark place (such as a cupboard or closet) where temperatures stay around 70-85°F (21-29°C).
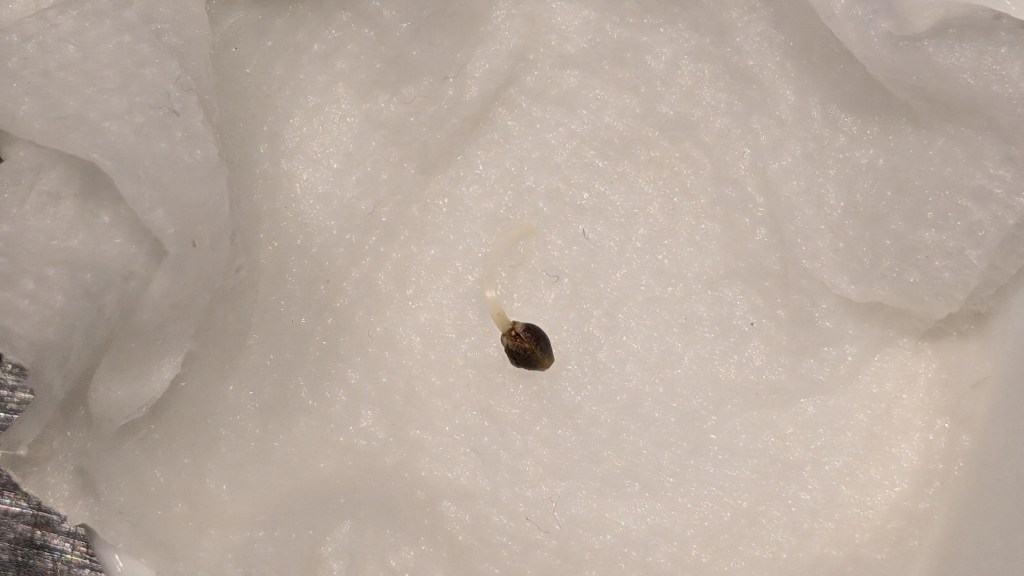
- Check Daily: After about 24-48 hours, you should start to see the taproot emerging from the seeds. Keep the paper towels moist but not too wet throughout this period.
- Transfer: Once the taproot is about 0.5-1 inch long, your seed is ready to be transferred to its growing medium.
2. The Direct Soil Method
If you prefer a more natural approach, you can plant your cannabis seeds directly into the soil. This method mimics what happens in nature, and the seeds don’t need to be handled as much, reducing the risk of damaging the taproot.
What You’ll Need:
- Small pots or seedling trays
- Soil (make sure it’s light and well-draining)
- Cannabis seeds
- Water
Steps:
- Prepare the Soil: Fill small pots or seedling trays with lightly moistened soil. Make a small hole about 0.25 inches deep in the center of each pot.
- Plant the Seeds: Place one seed in each hole with the pointed end facing down. Gently cover the seed with a light layer of soil.
- Water and Wait: Water the soil lightly and place the pots in a warm, sunny spot. If growing indoors, use grow lights to ensure the seeds get about 18 hours of light per day.
- Watch for Sprouts: In about 3-7 days, you should see the seedling breaking through the soil surface. Once they sprout, continue caring for them as they grow.
3. The Soaking Method
The soaking method is a quick and easy way to kickstart the germination process. By soaking the seeds in water, you help soften the shell, making it easier for the taproot to break through.
What You’ll Need:
- A glass of water (room temperature)
- Cannabis seeds
Steps:
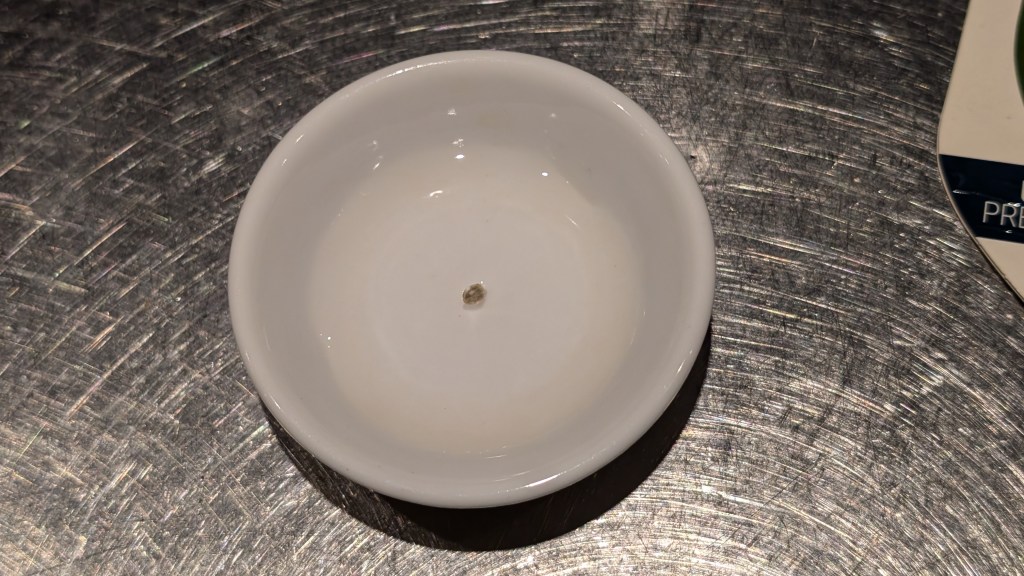
- Soak the Seeds: Place your cannabis seeds in a glass of room-temperature water. Let them soak for about 12-24 hours. The water should be kept at around 65-75°F (18-24°C).
- Look for Taproots: After the seeds have soaked, you’ll notice that some may begin to crack open and show the start of a taproot. Once this happens, you can transfer them to soil or another growing medium.
- Transfer to Growing Medium: Once the taproot appears, carefully transfer the seeds to soil or a peat plug for further growth.
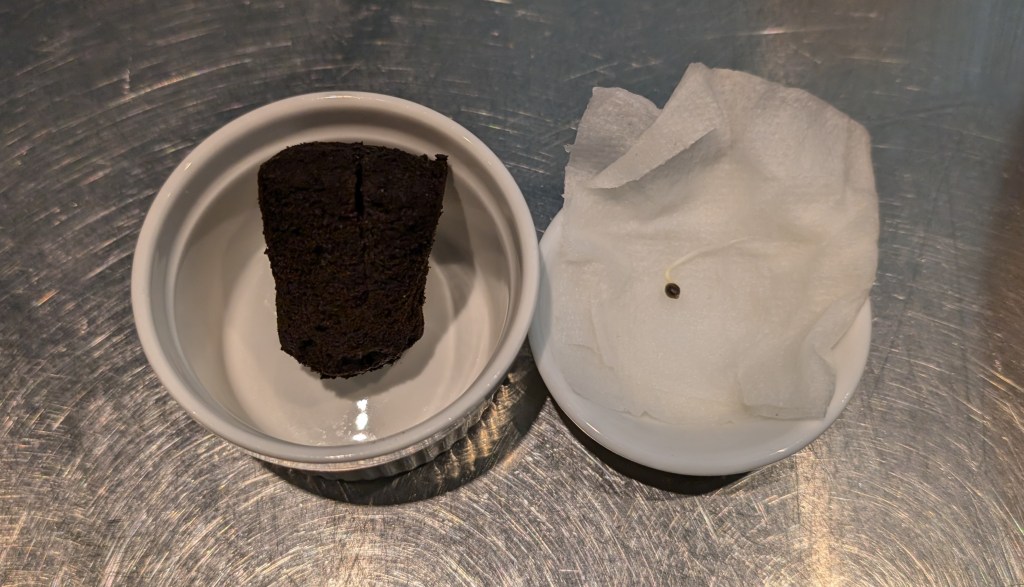
Transferring Sprouts to the Starter
One common method for successfully transplanting your cannabis sprouts is to first transfer them into a starter or rooter before moving them to the final pot. Using a rooter helps the sprout establish a strong root system in a controlled environment, which can make the final transfer easier and less stressful for the plant.
You can easily purchase starters or rooters on Amazon or at your local nursery store. Here’s how to do it:
- Prepare the Rooter: Cut a small slit on the side of the rooter.
- Insert the Sprout: Gently place the sprout inside the slit, making sure the roots are facing downward. Be careful not to bury the sprout too deep into the rooter; it should sit snugly but still close to the surface.
- Monitor Growth: Once the sprout is securely placed in the rooter, you can monitor its growth for a few days before transferring it into the final pot. The rooter provides a stable environment for the roots to expand before the final transplant.
This method helps ensure that your cannabis sprout is well-established and ready to thrive once it’s moved to a larger pot.
Transferring Sprouts to the Final Pot
Once your seeds have germinated and the taproot has emerged, it’s time to transfer the seedlings to their final pot. This is a delicate process, as the taproot and seedling are extremely fragile at this stage. Follow these steps to ensure a smooth transfer and minimize stress on your plants.
Step-by-Step Guide to Transferring Seedlings
- Choose the Right Pot Size
Start with a pot that is at least 3-5 gallons in size. This gives your cannabis plant enough room to grow and establish a strong root system. Make sure the pot has good drainage holes at the bottom. Fabric or felt pots are also good alternative options. (3 Gallon Plant Grow Bags is what I used.To learn more about choosing the right pots and soil, check out the article below. How to Start Growing Weed at Home Part 1: Preparation(Equipment, Seeds, Soil, and Pots)) - Prepare the Growing Medium
Fill the pot with a high-quality soil mix that is light, well-aerated, and nutrient-rich. A mix designed specifically for cannabis growing is ideal. Make sure the soil is moist but not overly wet. - Create a Planting Hole
In the center of the pot, make a small hole about 1/2 inch deep. This is where you’ll place your sprout. - Handle the Seedling with Care
Using tweezers or very clean hands, carefully pick up the germinated seed by holding the seed itself, not the delicate taproot. Be gentle to avoid damaging the root. - Place the Seedling in the Hole
Gently place the seedling in the hole, with the taproot pointing downward. Cover the seed lightly with soil, but don’t pack it down too hard. - Water the Seedling
After transferring the sprout, water the soil lightly to help settle it in. Be sure not to overwater at this stage, as the roots are still developing. The soil should remain moist but not soggy. - Provide Light
For indoor grows, place your pot under grow lights with a light schedule of 18 hours of light and 6 hours of darkness during the vegetative stage. If growing outdoors, ensure the seedlings get plenty of direct sunlight.
Caring for Your Seedlings in the Early Stages
Your cannabis seedlings are still in a very vulnerable stage, so it’s crucial to give them the care and attention they need. Here are some key things to keep in mind:
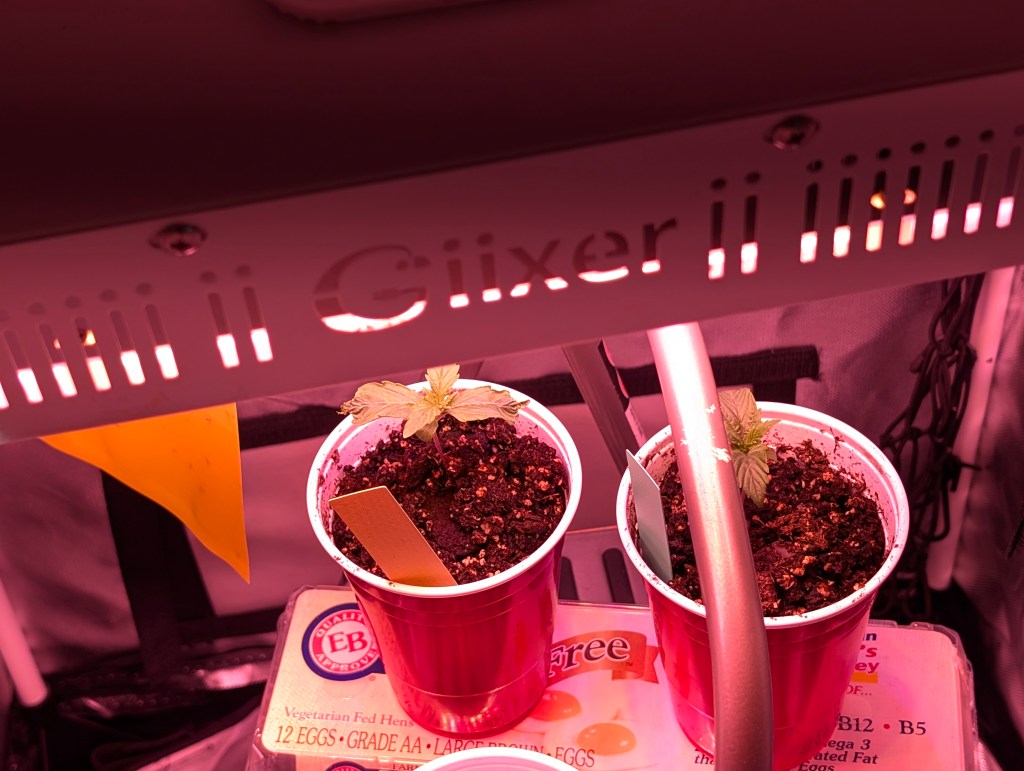
1. Lighting Needs
Cannabis seedlings need 18 hours of light each day during the vegetative stage. If you’re growing indoors, use grow lights like LEDs, HIDs, or fluorescent lights that are set to a safe distance from the seedlings (about 12-24 inches, depending on the light type).
2. Watering Needs
Avoid overwatering your seedlings. A light watering every few days should be enough to keep the soil moist but not waterlogged. Cannabis plants prefer a wet-dry cycle, so let the top layer of soil dry out before watering again.
3. Temperature and Humidity
Keep the temperature between 70-85°F (21-29°C) with humidity levels around 60-70% during the seedling stage. This creates an ideal environment for growth without stressing the plant.
4. Nutrient Care
At this early stage, your plants won’t need many additional nutrients, especially if you’re using nutrient-rich soil. Once they start developing more leaves and entering the vegetative stage, you can start introducing nutrients like nitrogen, phosphorus, and potassium.
Conclusion: Successful Germination for a Healthy Grow
Germination is the first and arguably one of the most crucial stages of your cannabis grow. By following the steps outlined in this guide, you’ll give your seeds the best chance of sprouting into healthy, vibrant plants. From choosing the right germination method to carefully transferring your seedlings to their final pot, every step is important to ensure a successful grow.
Remember to keep your environment consistent, avoid overwatering, and provide plenty of light to help your seedlings thrive. As you continue to grow, you’ll develop your own methods and techniques that work best for you and your plants.
In the next part of this series, we’ll cover the growing stages, including the vegetative and flowering phases.
Happy growing!


Leave a comment